Set up Dynamic DNS for your homelab and your services stay reachable under a consistent domain name even when your ISP changes your public IP address. Setting it up at the router level is the most reliable approach because the router is the first device to receive the new IP. When the DDNS client runs on the router itself, it detects the change immediately and updates your DNS record before any service goes unreachable. No extra server needs to be running. No script needs to be scheduled on a separate machine.
What You Need Before You Start
You need a DDNS provider account before touching the router. DuckDNS is the simplest free option for a homelab. Sign in with a Google or GitHub account, create a subdomain, and copy both the subdomain name and the token shown on the page. The router will ask for both.
If you are using a custom domain with Cloudflare, generate an API token from the Cloudflare API token page with Zone:Read and DNS:Edit permissions for your zone.
Setting Up DDNS on OPNsense or pfSense
On OPNsense, go to Services, then Dynamic DNS, and click the plus button to add a new entry. Set the service type to your provider. For DuckDNS, select it from the dropdown. Enter your subdomain in the hostname field without the .duckdns.org suffix. Paste the token into the password field and leave the username blank. Set the interface to WAN and save.
On pfSense, the path is Services, then Dynamic DNS, then the Dynamic DNS Clients tab. The fields are nearly identical. Select your provider, enter the hostname, and paste the token into the password field. Set the interface to WAN, save, and force an update using the refresh icon on the same page.
Both firewalls display the detected IP and the last update status on the Dynamic DNS page. A green checkmark or “Updated” status confirms the record is live.
Setting Up DDNS on a Consumer Router
Most consumer routers from ASUS, TP-Link, and Netgear include built-in DDNS support, though the provider list varies by model. On an ASUS router, go to Advanced Settings, then WAN, then the DDNS tab. Toggle DDNS on, select your provider from the dropdown, enter your hostname and credentials, and click Apply.
On a TP-Link router running standard firmware, look under Advanced, then Network, then Dynamic DNS. The layout is different but the required fields are the same: provider, hostname, and credentials.
If your router only lists No-IP or DynDNS and does not support DuckDNS or Cloudflare, creating a free No-IP account and using that is the simplest workaround.
Verifying the Setup
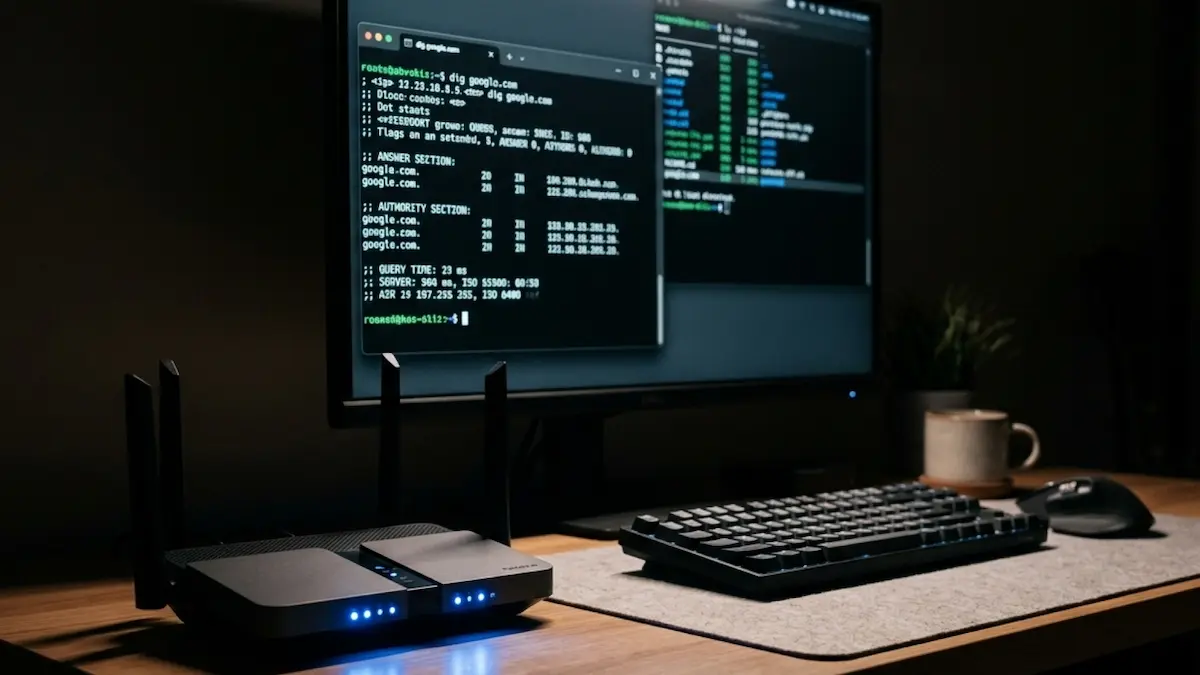
After saving your settings, force an update if the option is available. Then open a terminal and run a DNS lookup against your subdomain or domain to confirm it resolves to your current public IP. On Linux or macOS, run dig +short yourdomain.duckdns.org. On Windows, run nslookup yourdomain.duckdns.org. The address returned should match what you see when you visit ipify.org from your home network.
If the addresses do not match, check that the router interface is set to WAN and not a LAN interface, and confirm your token or credentials are entered correctly. Also check whether your ISP is using Carrier-Grade NAT. With CGNAT, your router’s WAN interface shows a private IP in the 100.64.x.x range rather than your actual public IP, and router-based DDNS will not work in that scenario. In that case, a software-based DDNS client running inside the network or a Cloudflare Tunnel are the two alternatives worth looking into.
The Takeaway
Router-based DDNS is the cleanest solution for a homelab because the update happens at the source. The router detects the IP change and pushes the update to your DNS provider immediately, with no additional hardware or running services required. Once configured and verified, it runs silently in the background and keeps your homelab reachable under a consistent domain name regardless of how often your ISP rotates your address.