Whisper for Audio Transcription with Docker runs OpenAI’s speech recognition model locally, no cloud, no subscription, no audio leaving your machine. This guide covers one job: getting the container running so you can drop in an audio file and get a transcript out.
If you’re not sure what Whisper is or what it can do, start with What is Whisper and How to Transcribe Audio Locally first.
What you need
GPU transcription needs an NVIDIA GPU with at least 4GB VRAM and NVIDIA drivers installed on the host. Verify with nvidia-smi. CPU-only works on any machine, but runs slower. Either way, Docker and Docker Compose must be installed, and you’ll need an audio file to test with MP3, WAV, FLAC, or M4A; all work.
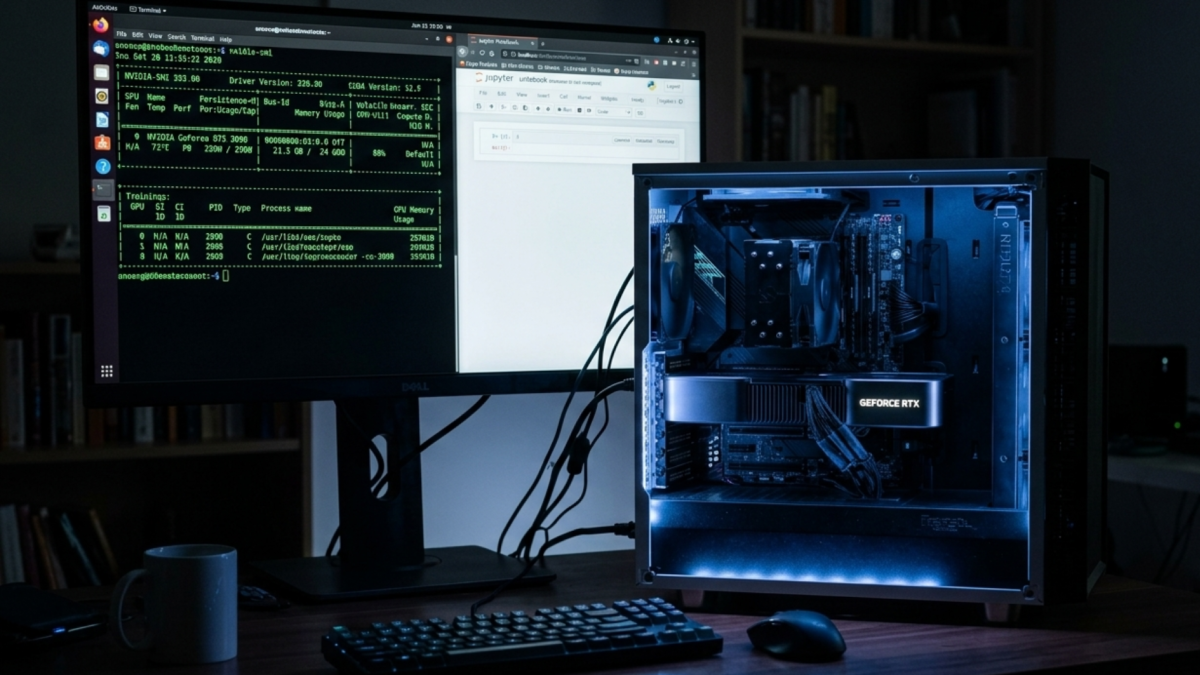
Step 1: Verify GPU access in Docker
If you’ve already set up the NVIDIA Container Toolkit, for example, when setting up Stable Diffusion WebUI with Docker, run this to confirm it’s working:
docker run --rm --gpus all nvidia/cuda:12.0-base nvidia-smi
You should see your GPU listed. If you don’t, the NVIDIA Container Toolkit needs to be installed on the host before continuing.
Step 2: Pull the Whisper image
docker pull witblack/whisper:small
This pulls the small model variant to a good balance of speed and accuracy for most audio. The witblack/whisper images come with the model pre-loaded, so there’s no separate download step at runtime. If you need a different model size, the available tags are tiny, base, small, medium, and large-v3.
The witblack/whisper images are published on Docker Hub. Check there for the full list of available tags and changelogs.
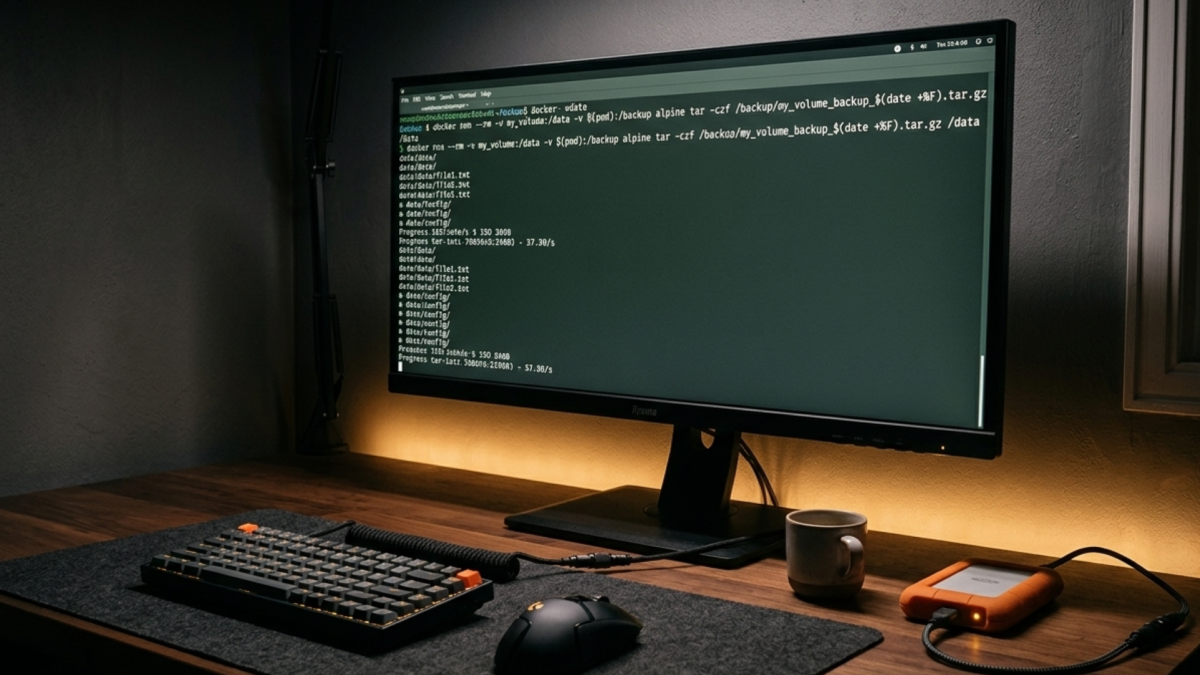
Step 3: Transcribe an audio file
Place your audio file in the current directory, then run:
docker run --rm \
  --gpus all \
  -v $(pwd):/data \
  witblack/whisper:small \
  whisper /data/your-audio.mp3 --language en
--gpus all passes your GPU through to the container. -v $(pwd):/data mounts the current directory so the container can read your file and write output back. --language en tells Whisper the language upfront, which improves accuracy and speeds up processing. The transcript appears in the terminal and is saved to the current directory as a .txt file alongside your audio.
If you’re on CPU only, drop –gpus all from the command. Transcription will be slower, but it works on any machine.
Step 4: Choose an output format
Whisper supports multiple output formats. Add --output_format to the command:
docker run --rm \
  --gpus all \
  -v $(pwd):/data \
  witblack/whisper:small \
  whisper /data/your-audio.mp3 --language en --output_format srt
Available formats are txt, srt, vtt, json, and tsv. Use srt for subtitles, json if you need timestamps and segment data for further processing, and txt for plain transcripts.
If something’s wrong
No transcript produced: Check that the audio file path inside the container matches the file, which must be in the directory you mounted. If your file is in ~/recordings/, run the command from that directory.
GPU not being used: Re-run the nvidia-smi Docker test from Step 1. CPU fallback is automatic if the GPU flag is dropped, but the container won’t silently switch if --gpus all is set and the toolkit isn’t working, the container will error.
Unsupported file format: Convert to WAV first using FFmpeg. Most containers include FFmpeg, but if yours doesn’t, ffmpeg -i input.m4a output.wav handles the conversion outside the container.
Out of memory: Switch to a smaller model tag, replace small with base or tiny in both the pull and run commands.
The Takeaway
Whisper is now running in Docker with GPU acceleration. Drop any audio file into the working directory, run the command, and the transcript comes back in whatever format you need, all locally, with no data leaving the machine.