LocalAI with Docker runs an OpenAI-compatible inference server on your own hardware, with no API costs, no data leaving the machine, and no cloud dependency. This guide covers one job: getting the container running so you can make your first request to a local model.
If you’re not sure what LocalAI is or how it compares to Ollama, start with What is LocalAI and How It Compares to Ollama first.
What you need
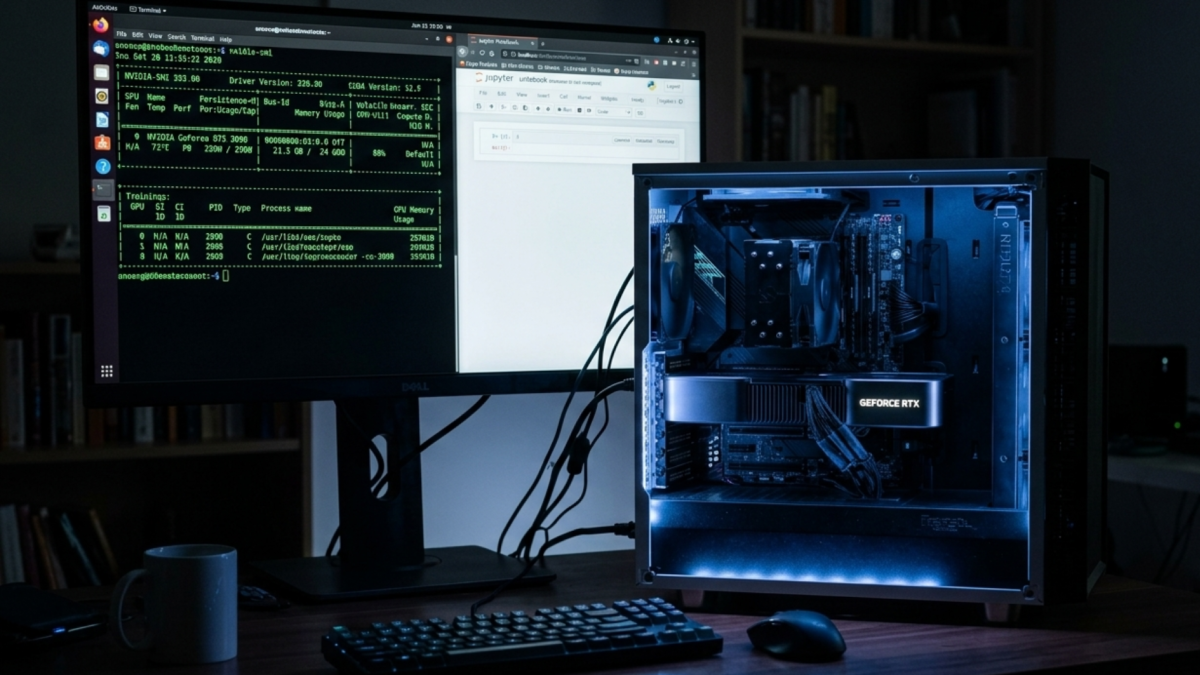
GPU inference needs an NVIDIA GPU with at least 4GB VRAM and NVIDIA drivers installed on the host, verify with nvidia-smi. CPU-only works on any modern machine, but runs slower. Either way, Docker and Docker Compose must be installed, and around 20GB of free disk space for models.
Step 1: Verify GPU access in Docker
If you’ve already set up the NVIDIA Container Toolkit, for example, when setting up Whisper for Audio Transcription with Docker, run this to confirm it’s working:
docker run --rm --gpus all nvidia/cuda:12.0-base nvidia-smi
You should see your GPU listed. If you don’t, the NVIDIA Container Toolkit needs to be installed on the host before continuing.
Step 2: Create the project directory
mkdir localai && cd localai
mkdir models
The models folder will be mounted as a volume, so anything LocalAI downloads persists across container restarts.
Step 3: Create the Compose file
Create a docker-compose.yml in the localai directory:
services:
  localai:
    image: localai/localai:latest-aio-gpu-nvidia-cuda-12
    container_name: localai
    ports:
      - "8080:8080"
    volumes:
      - ./models:/models:cached
    deploy:
      resources:
        reservations:
          devices:
            - driver: nvidia
              count: all
              capabilities: [gpu]
    restart: unless-stopped
The latest-aio-gpu-nvidia-cuda-12 tag is the All-in-One GPU image it ships with a curated set of models pre-configured so there’s nothing to manually install on first launch.
CPU-only: Replace the image tag with localai/localai:latest-aio-cpu and remove the deploy block entirely.
The localai/localai images are published on Docker Hub. Check there for the full list of available tags.
Step 4: Start the container
docker compose up -d
On first launch, LocalAI downloads its pre-configured models into ./models. This takes a few minutes, depending on your connection. Monitor progress with:
docker compose logs -f
Wait until you see the server ready message before making requests.
Step 5: Make your first request
Confirm the server is up:
curl http://localhost:8080/readyz
List available models:
curl http://localhost:8080/v1/models
Send a chat completion:
curl http://localhost:8080/v1/chat/completions \
  -H "Content-Type: application/json" \
  -d '{
    "model": "llama-3.2-1b",
    "messages": [{"role": "user", "content": "What is Docker?"}]
  }'
The response comes back in the same format as the OpenAI API. Any application built for OpenAI can point at http://localhost:8080 instead with no code changes. You can also open http://localhost:8080 in your browser to access the LocalAI web interface directly.
If something’s wrong
Container exits immediately: Run docker compose logs to see the error. A missing GPU driver or incorrect image tag are the most common causes.
/readyz returns nothing: The server is still starting. Give it another minute and try again.
GPU not being used: Re-run the nvidia-smi Docker test from Step 1. If that fails, the toolkit installation didn’t complete.
Out of memory: The AIO image loads several models. If your GPU doesn’t have enough VRAM, switch to the CPU image or use the standard localai/localai:latest-gpu-nvidia-cuda-12 tag and install a single, smaller model manually from the gallery.
The Takeaway
LocalAI is now running in Docker with a fully OpenAI-compatible API on your own hardware. Any tool or application that talks to OpenAI can be pointed at http://localhost:8080 instead, no code changes are required.